Creating 'Dartmoor Hedgerow #5 - Gidleigh'
Publication date: 18 June 2020
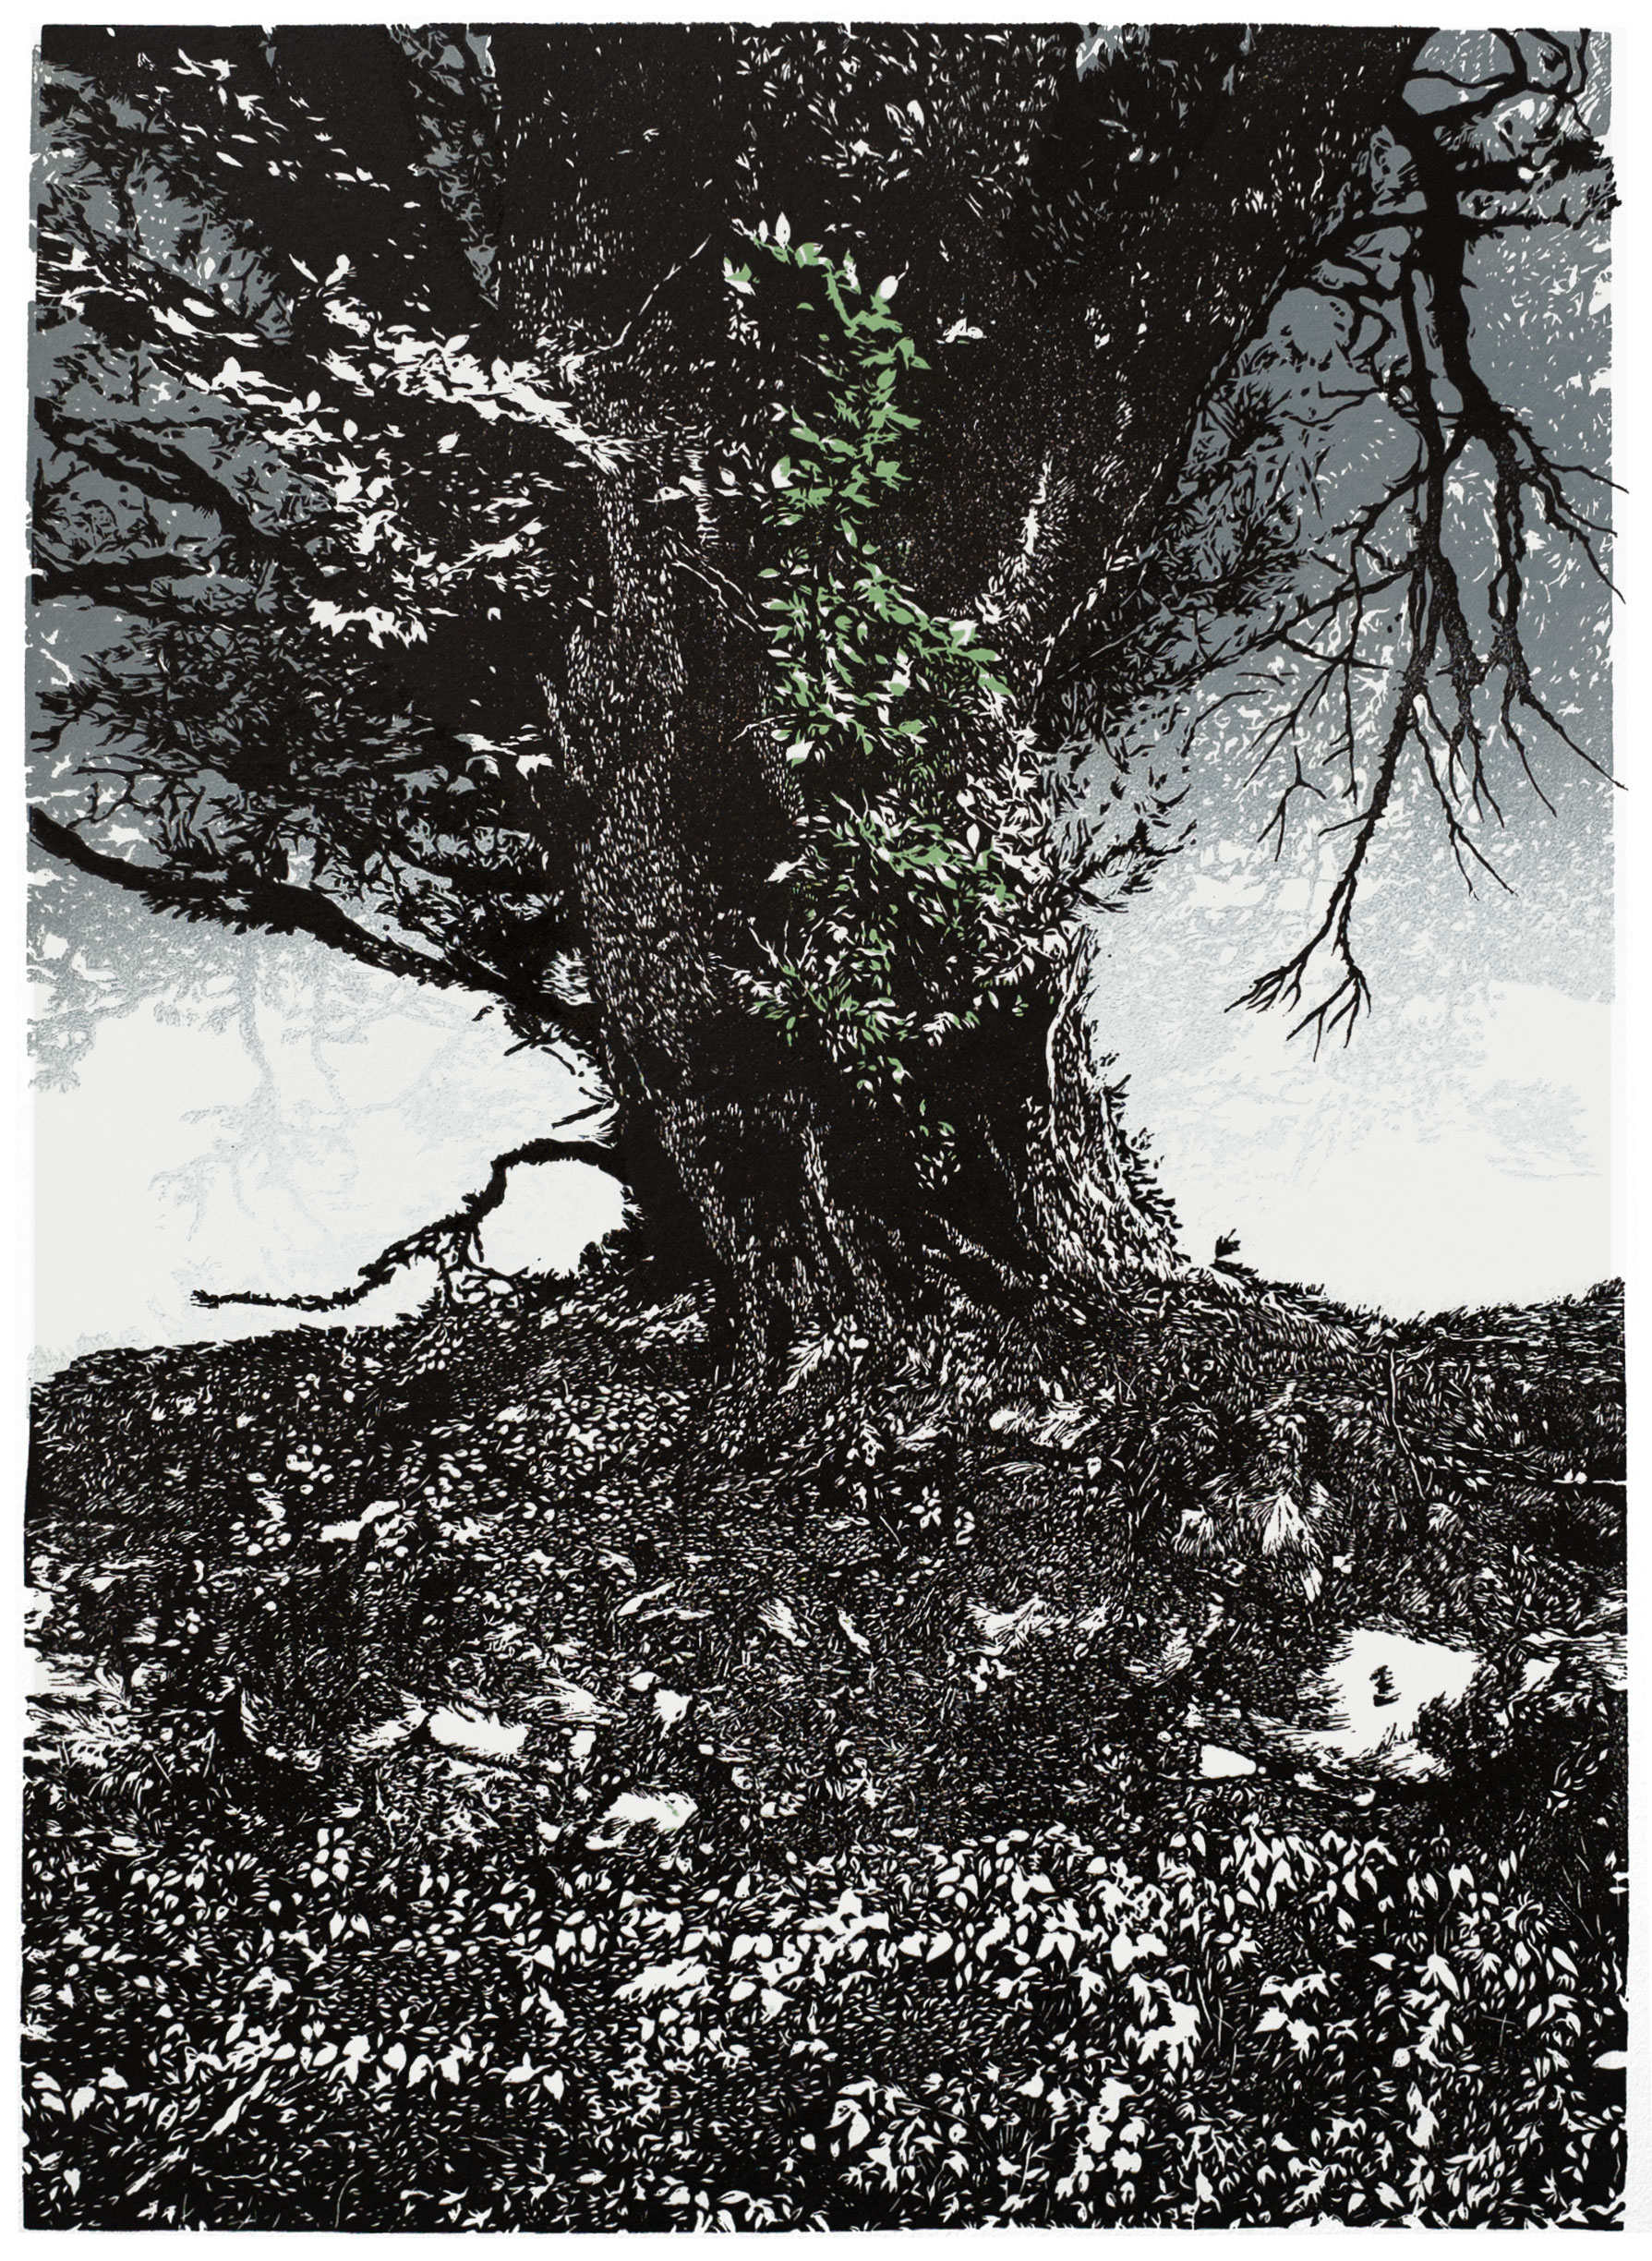
Here is the finished print, which is available to buy (the first 4 at a large discount until 24th June 2020) in my Collections shop - click here.
This is a limited edition of 25 relief lino prints. Dimensions (image area): 30 x 42cm.
Keep scrolling to find out how I produced this print...
Here is the finished print, which is available to buy (the first 4 at a large discount until 24th June 2020) in my Collections shop - click here.
This is a limited edition of 25 relief lino prints. Dimensions (image area): 30 x 42cm.
Keep scrolling to find out how I produced this print...
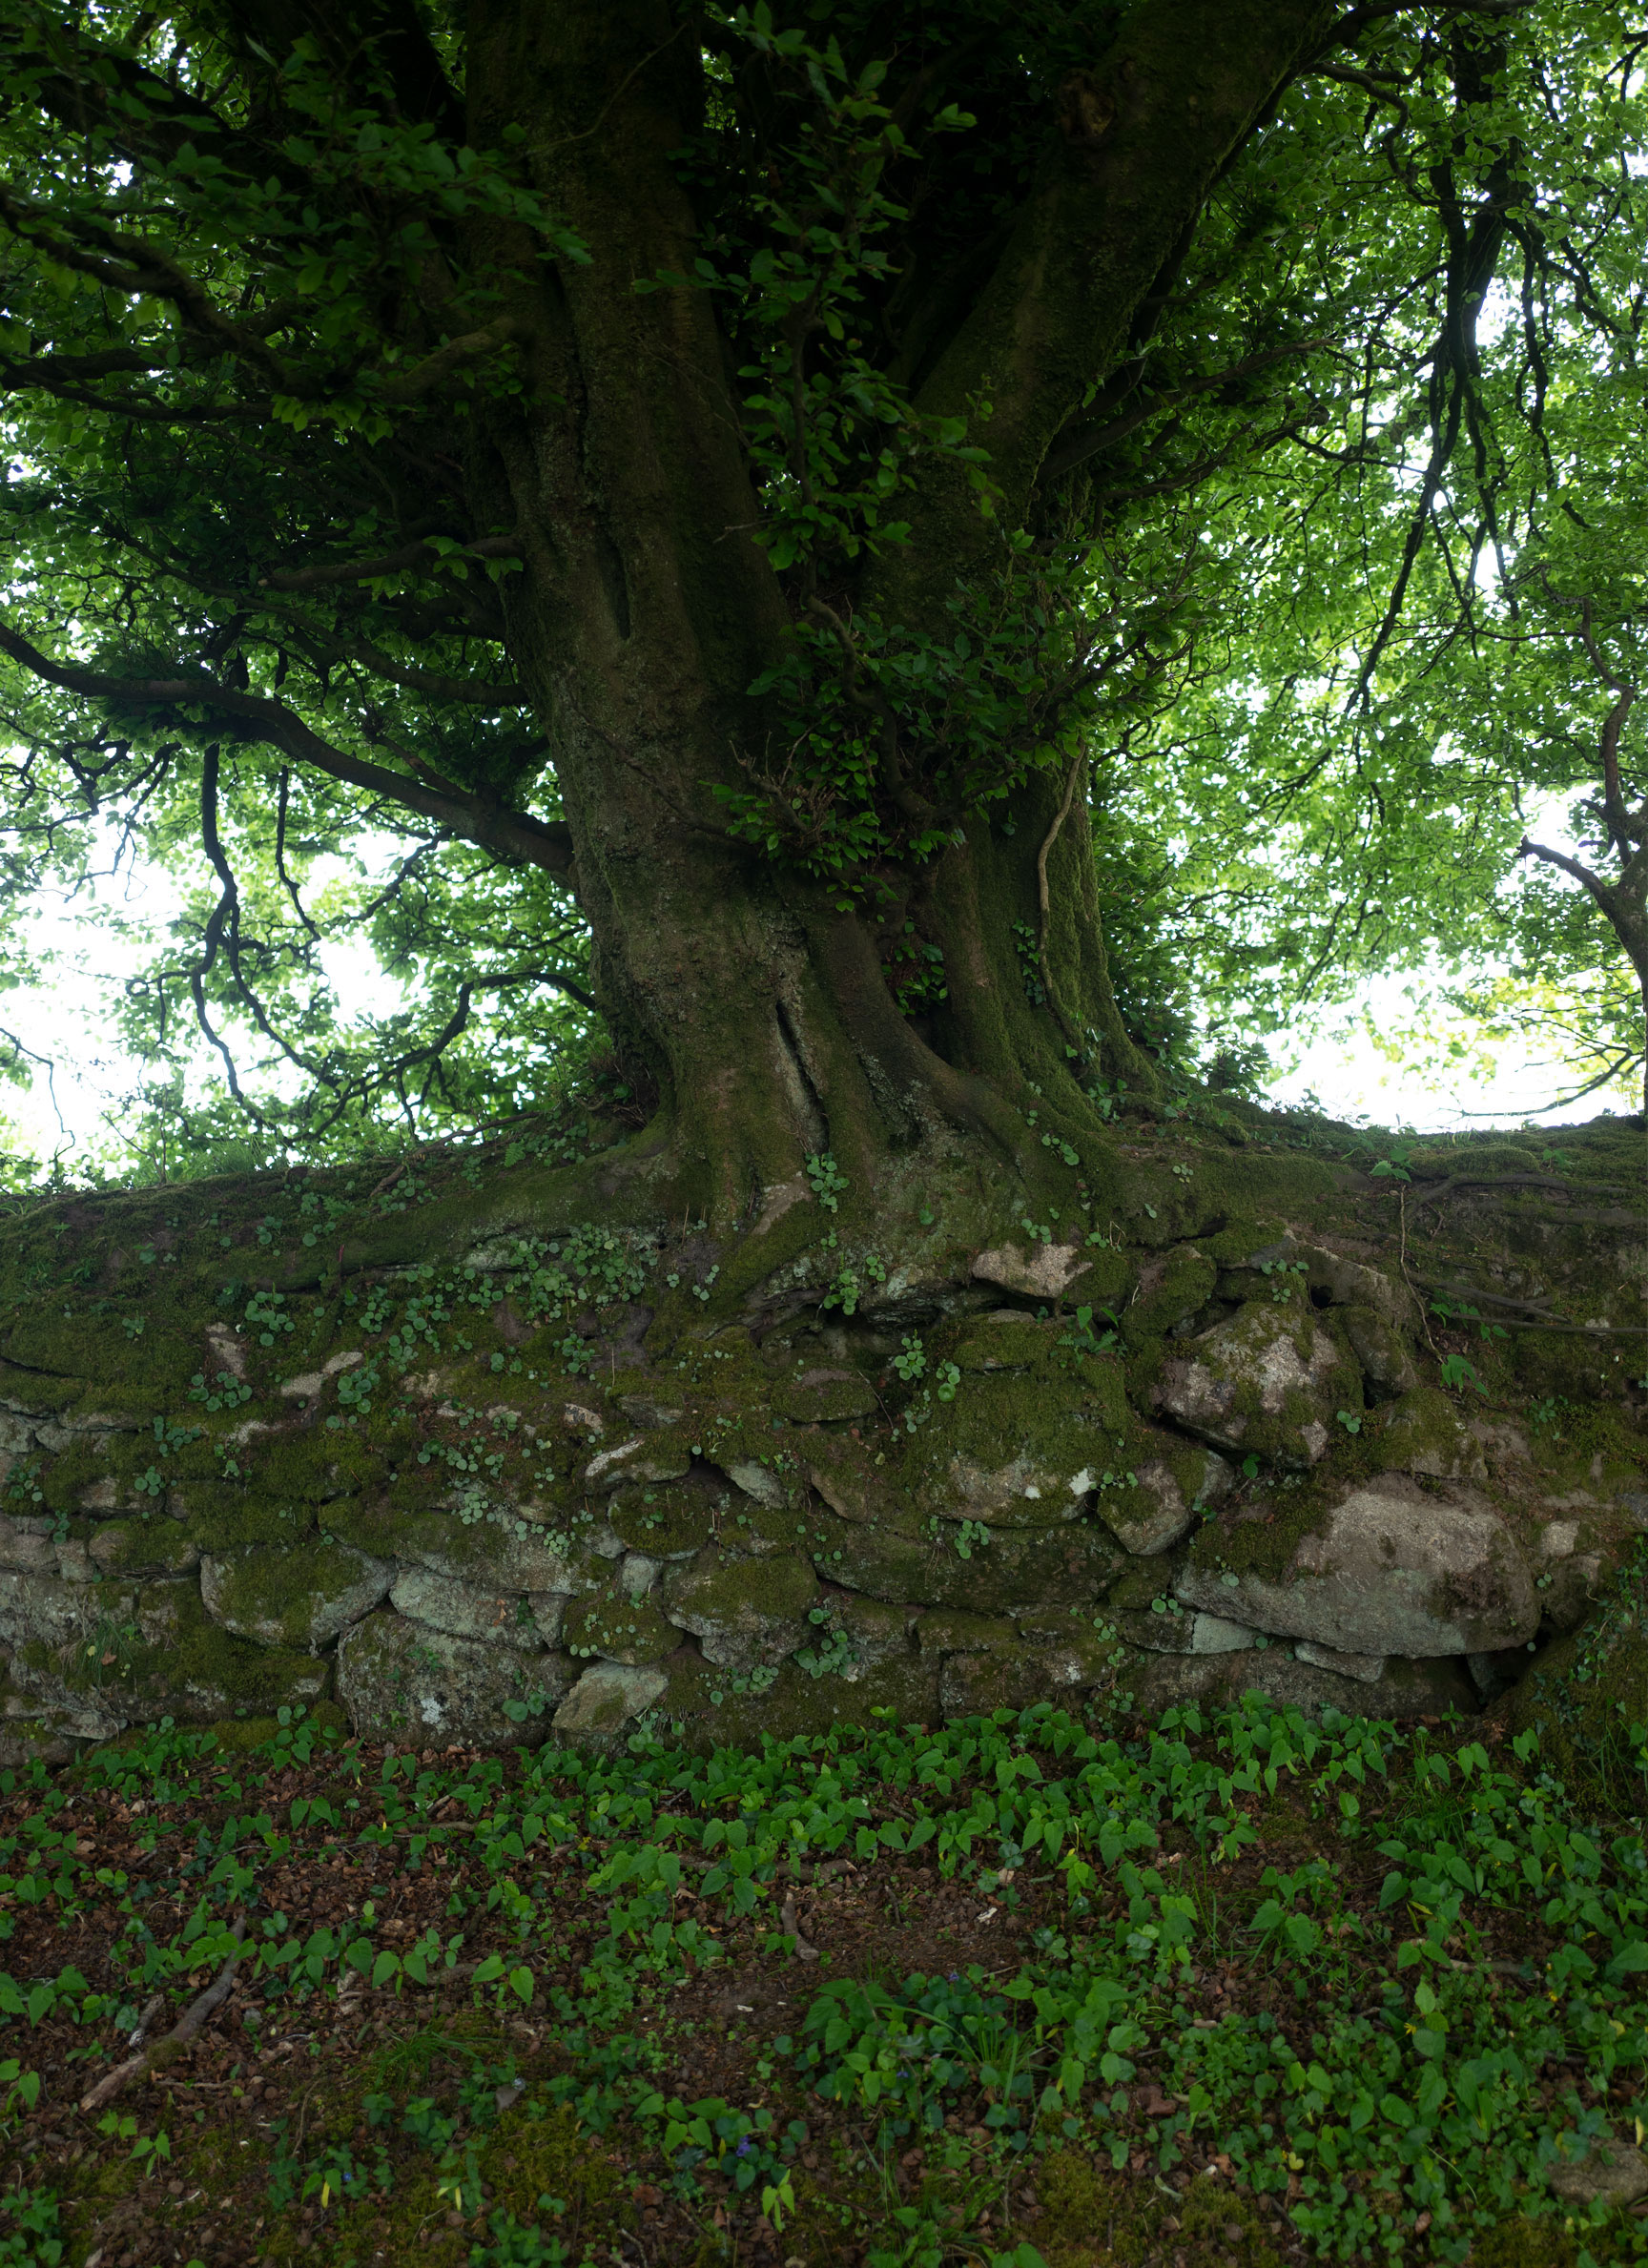
This is a print made from a photo I took while wandering (being lost in) the lanes around Gidleigh (a small village on the Eastern edge of Dartmoor).
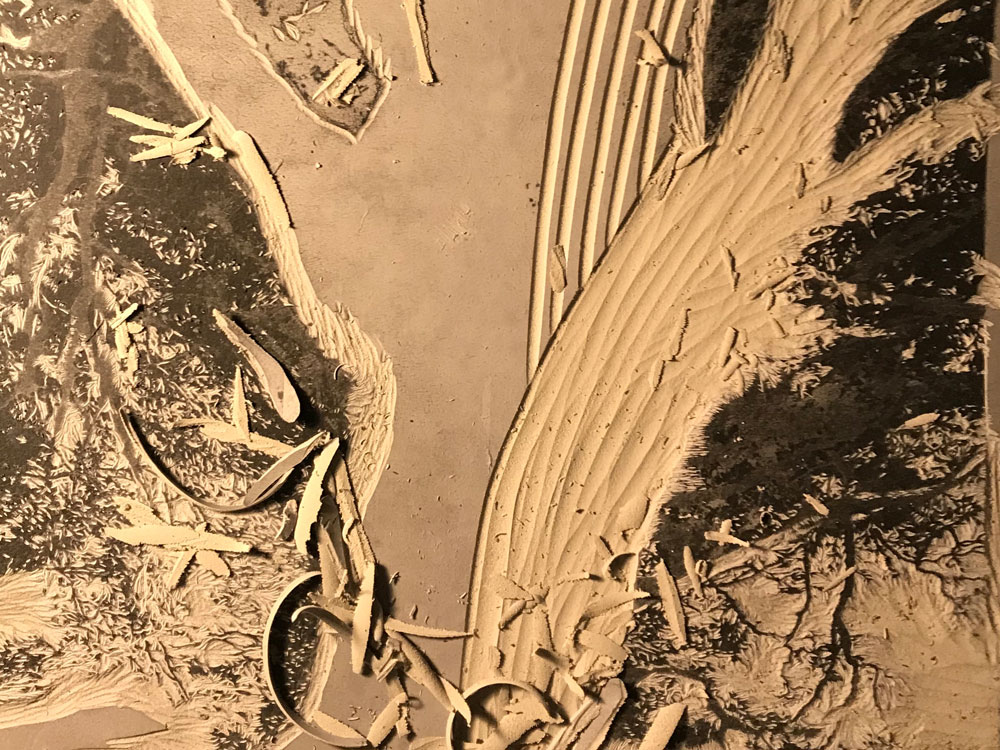
Above: cutting the main block (this took about 35 hours)
Above: a detail from the lower section of the main block
Above: removing areas of unwanted lino from the main block
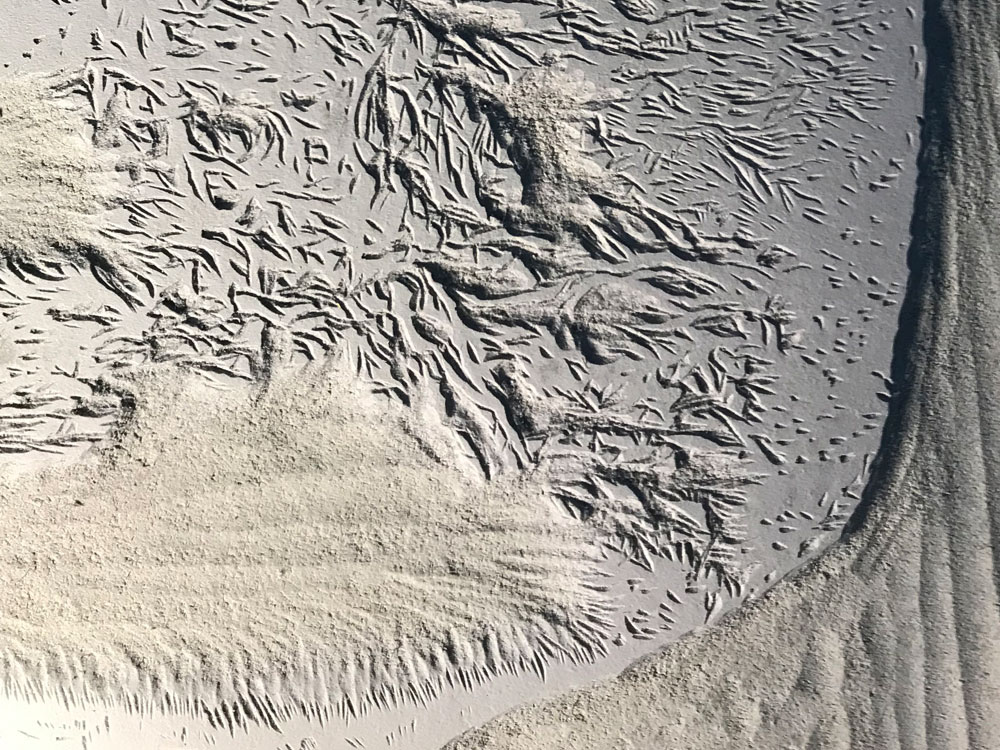
Above: cutting the second block (for printing the background grey)
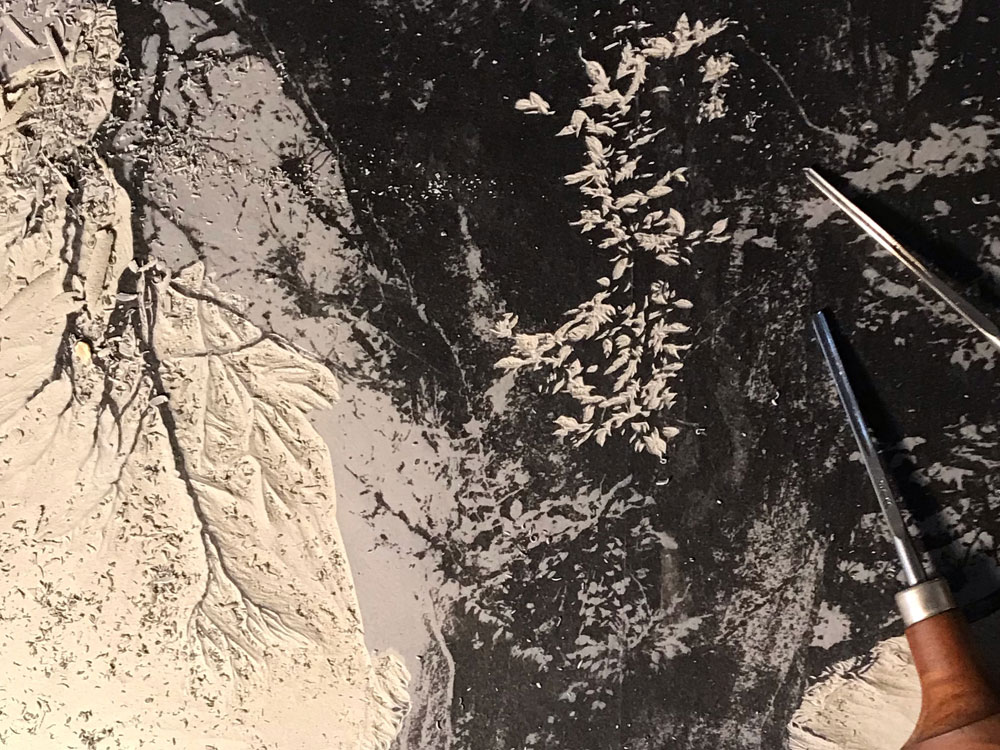
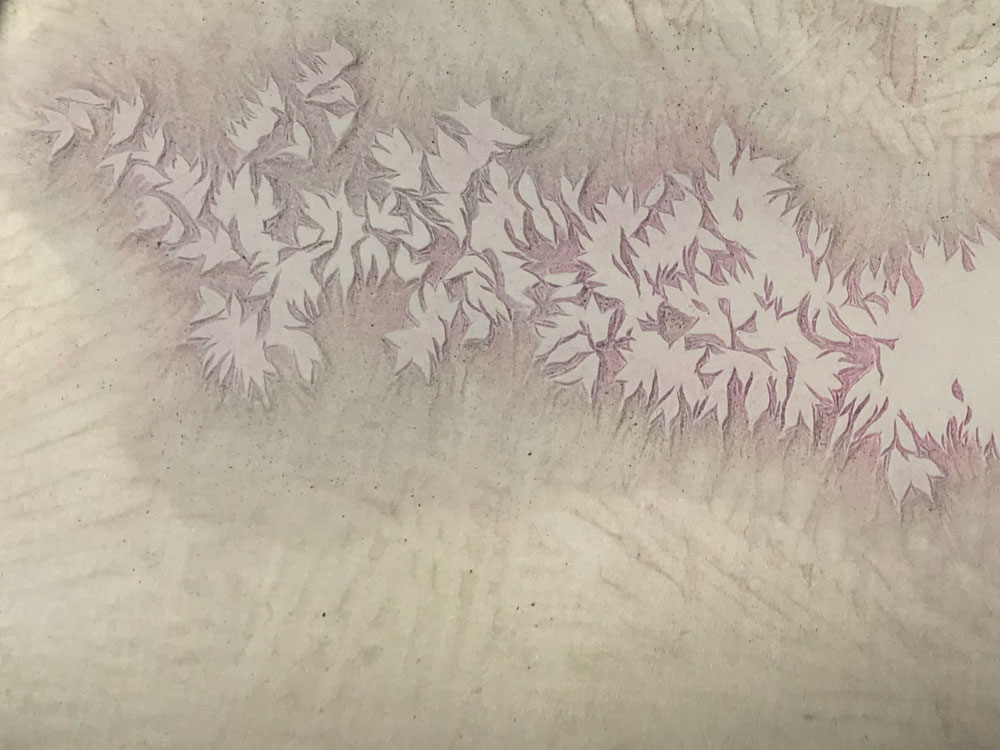
Above: this is the third, and the smallest, block - to carry the green of the leaves. I deliberately cut these larger in places than required in order to simplify the process of registration. It was still important to cut actual leaf shapes, in case the green ink darkened the subsequent black - by cutting these shapes they will appear as shadows, rather than as a dark ambigious shape. As it turned out, the type of ink I used for the green didn't show through the black - but the larger cut was still useful for registration. This little block took me about 8 hours to cut.
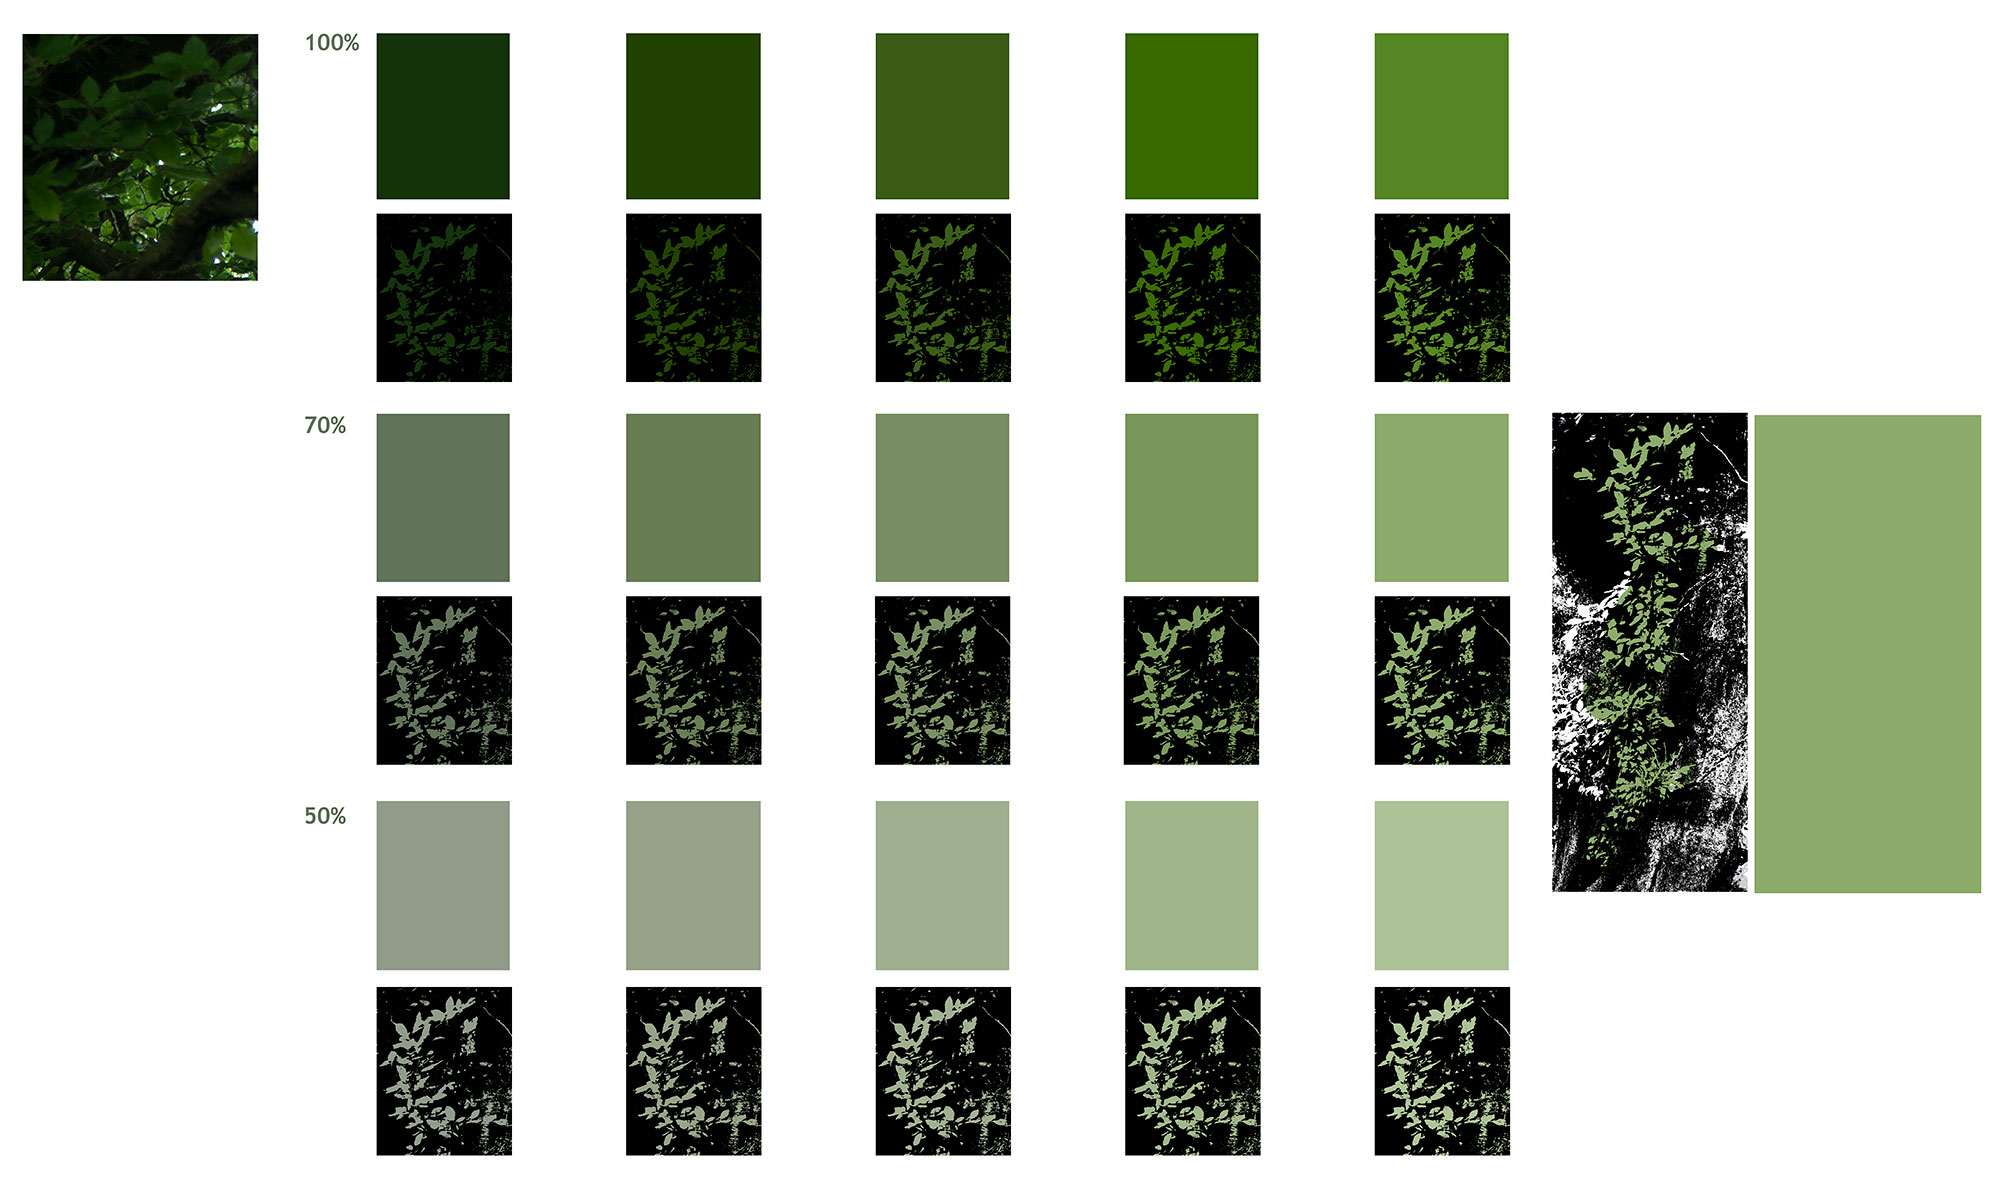
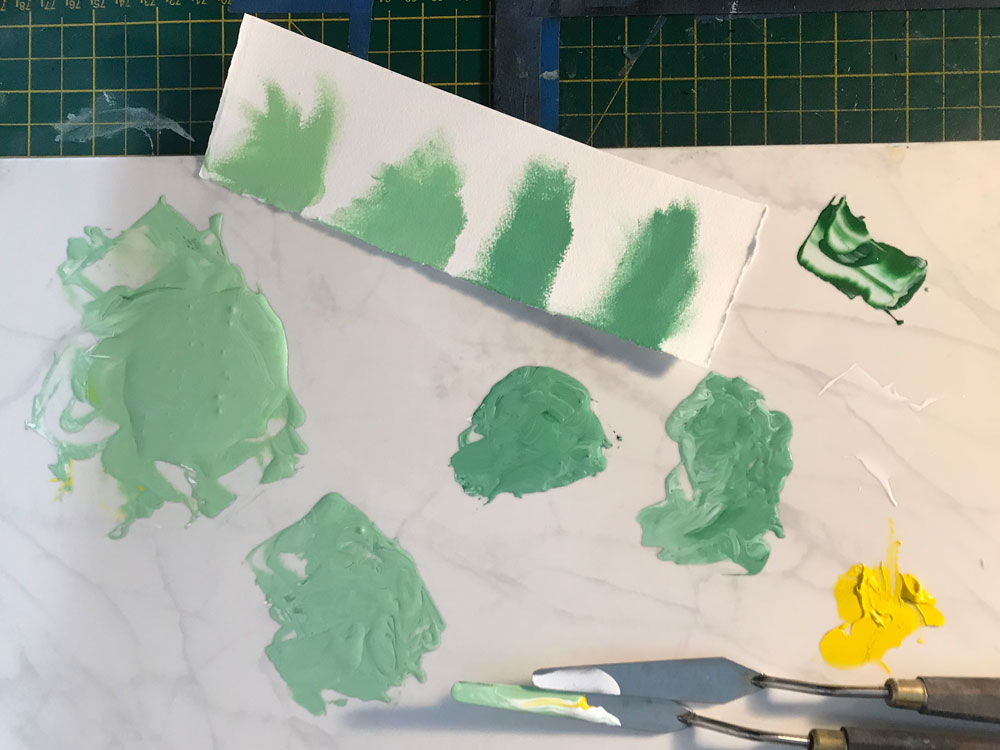
Above: planning the colour of the leaves. I wanted to use a colour that was close to the leaf colour in the source photo, so I made a few selections from a sampled area, then I reduced the opacity of each selection and tested it against the black of the shapes that would appear in the final print - then I made a selection based on which colour seemed to work best. You can see more detail if you click on this picture.
Above: mixing the green
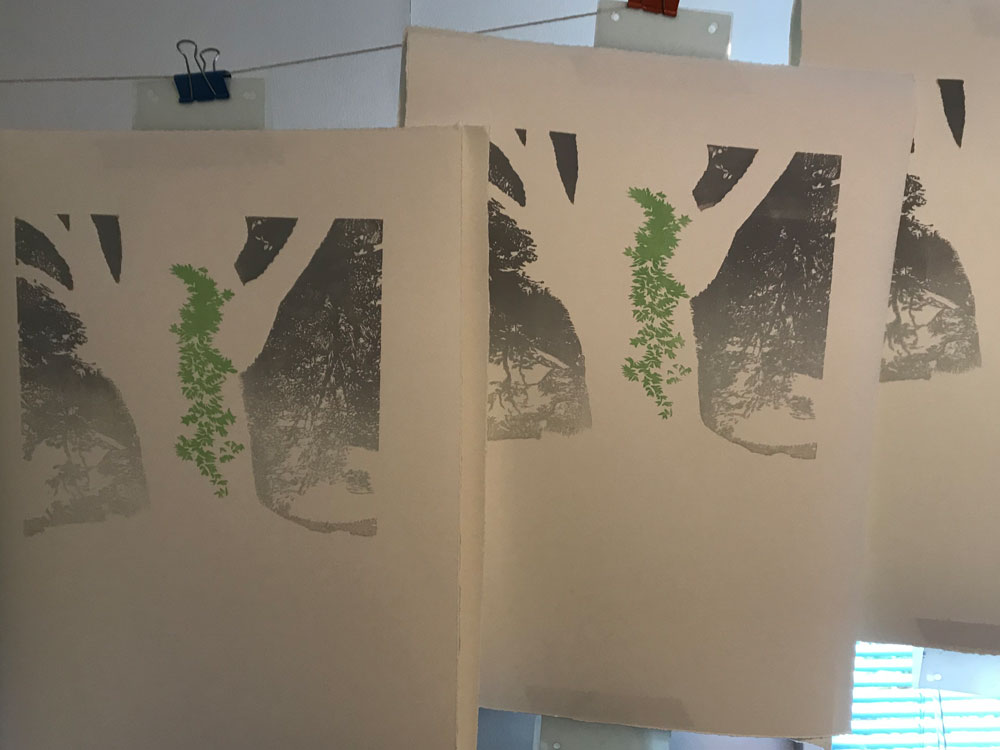
Above: the first two colours printed and hanging up to dry. The idea to add the green came after I began cutting the other two blocks - I realised I needed to add another colour element to provide a focal point, and to relieve the black and white detail. I considered colouring the leaves in the lower section as well but decided that would make the print too colour-balanced
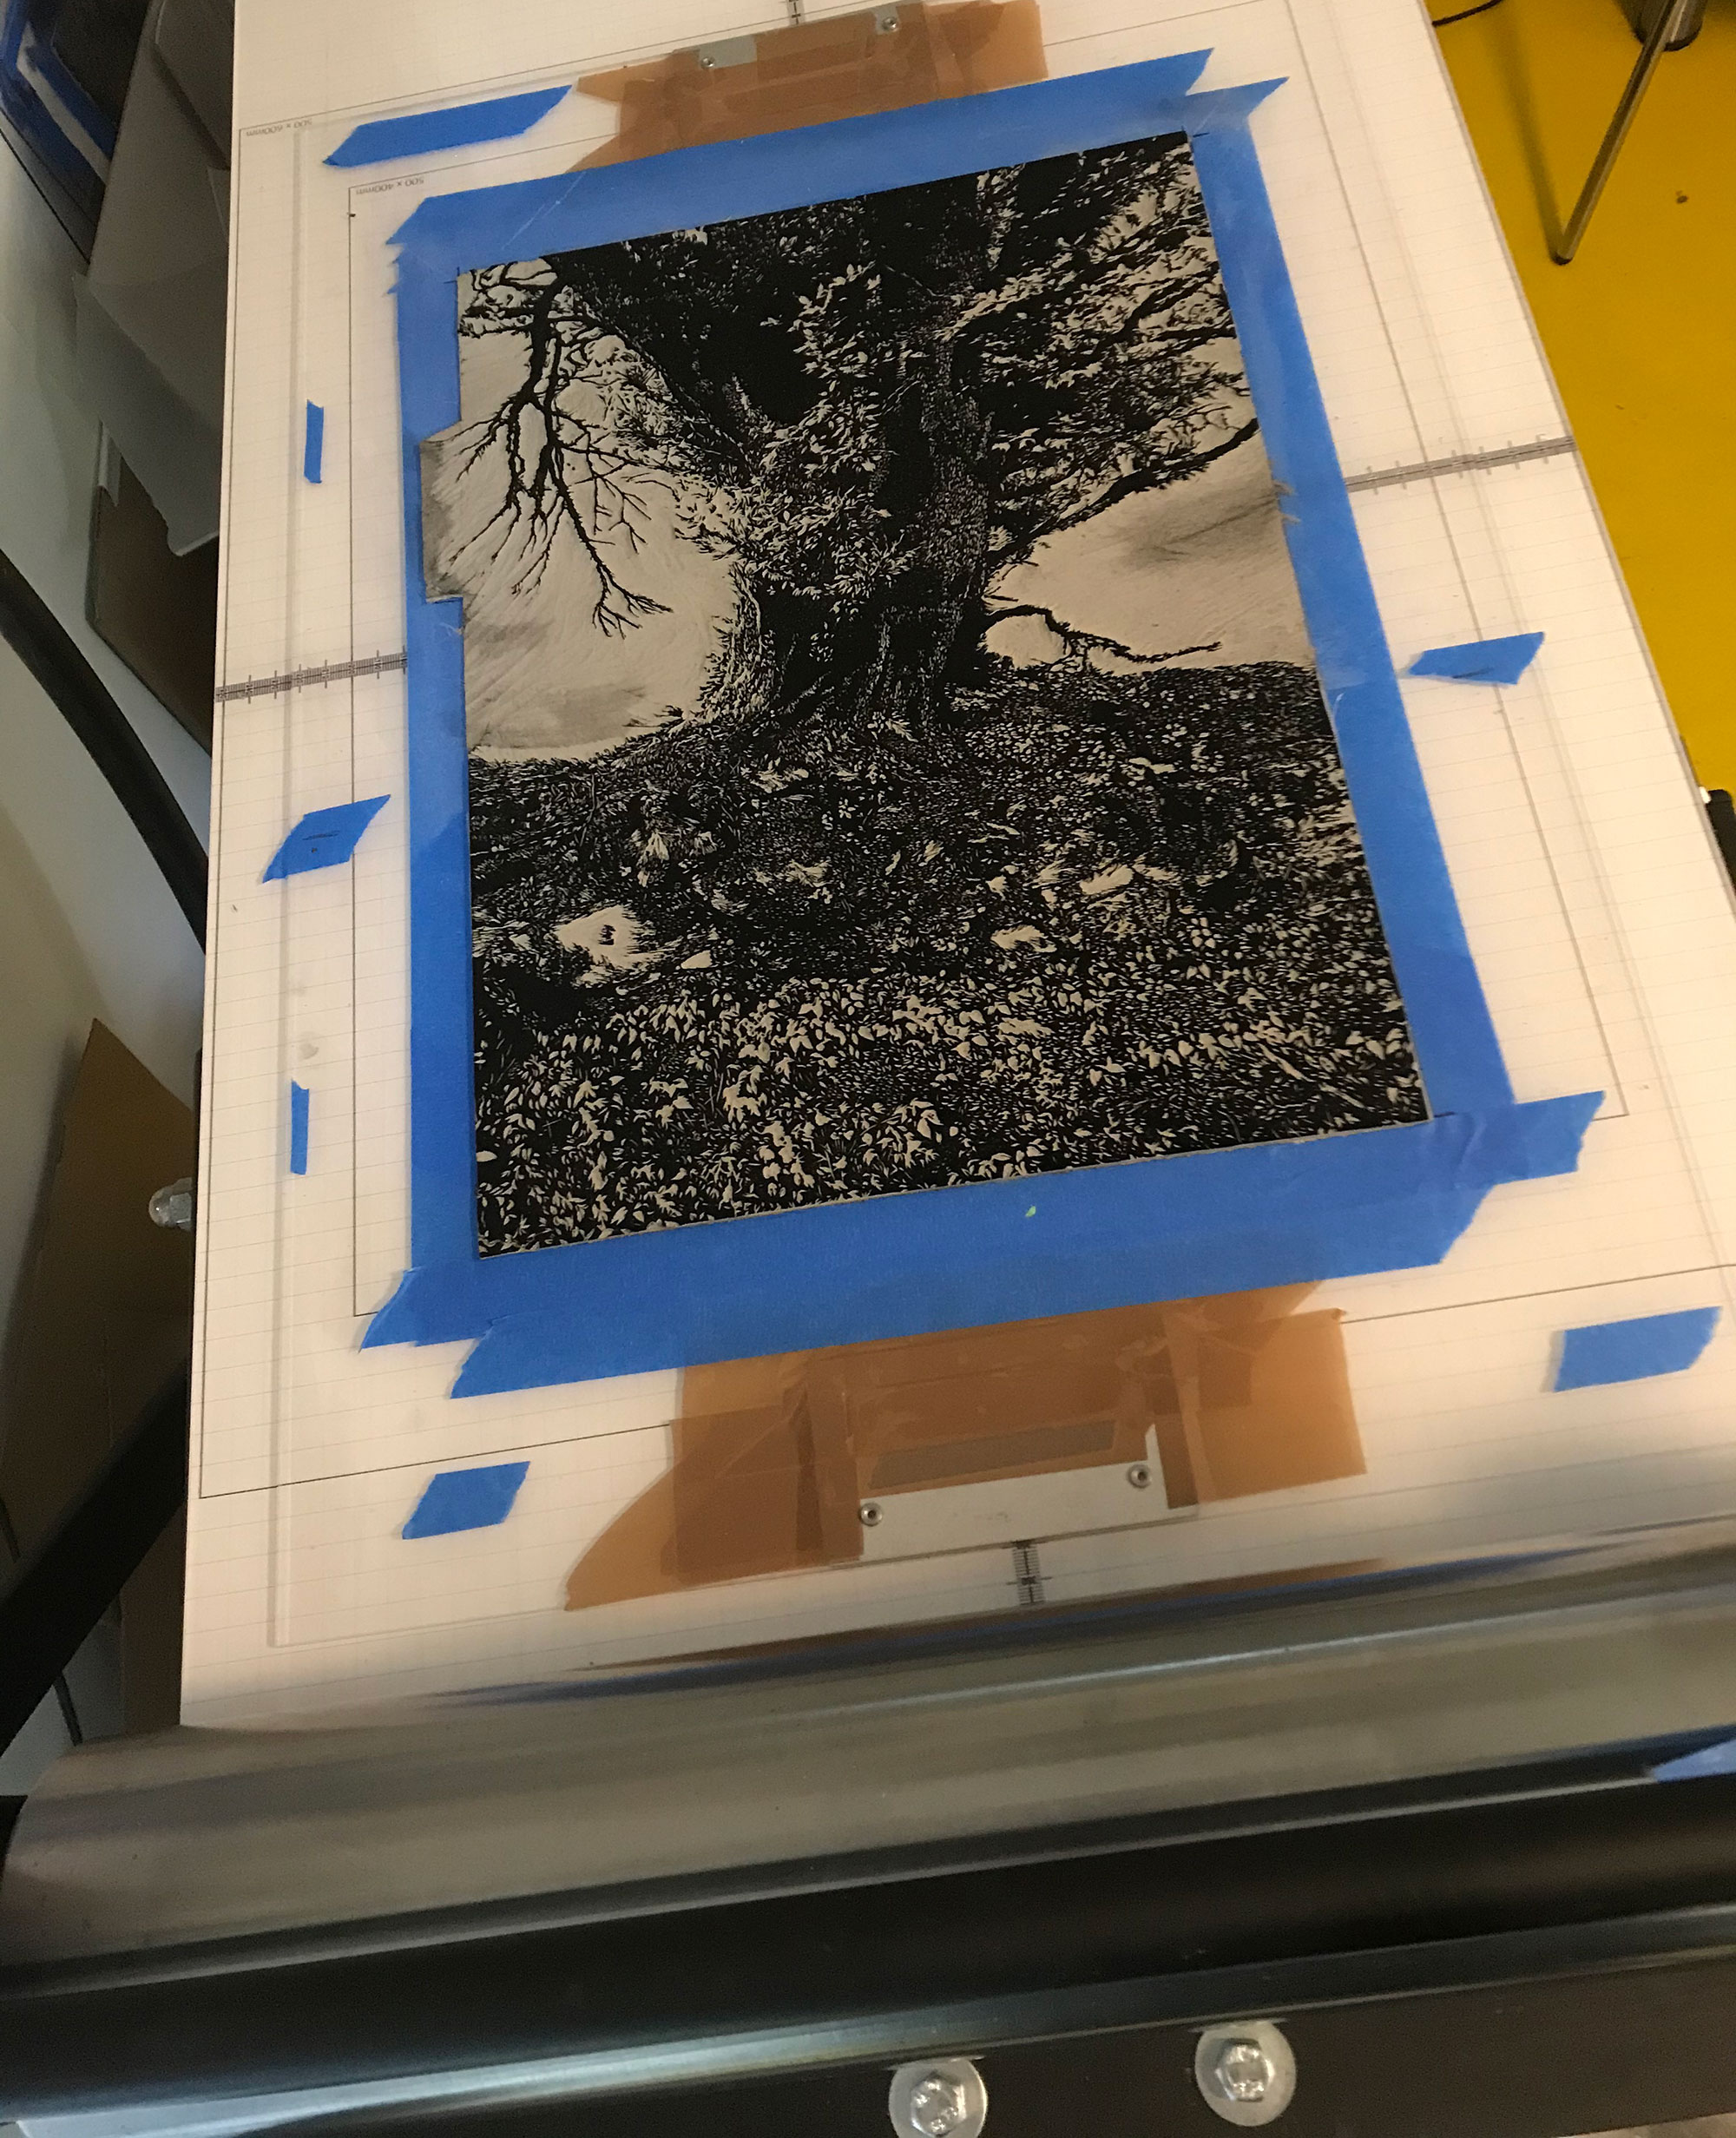
Above: The final block inked and ready to go on the press. The blue tape is just there for registration (I also use a copy of the background printed onto tabbed tracing paper to line things up). For the eagle-eyed who may have noticed there are no runners on the bed - that's because I'd been sent the wrong width perspex to stick the block to! I've always used runners before now (they provide a guide for the roller adjustment), so I was a bit concerned that something would go wrong without them. In the event, it was pretty easy to set up the roller pressure and to enable the block to run through the press. More usefully, though, it showed me I can work without runners in future, which means I can utilise the full 50cm width of the bed (with the runners I'm restricted to a maximum paper width of 40cm)
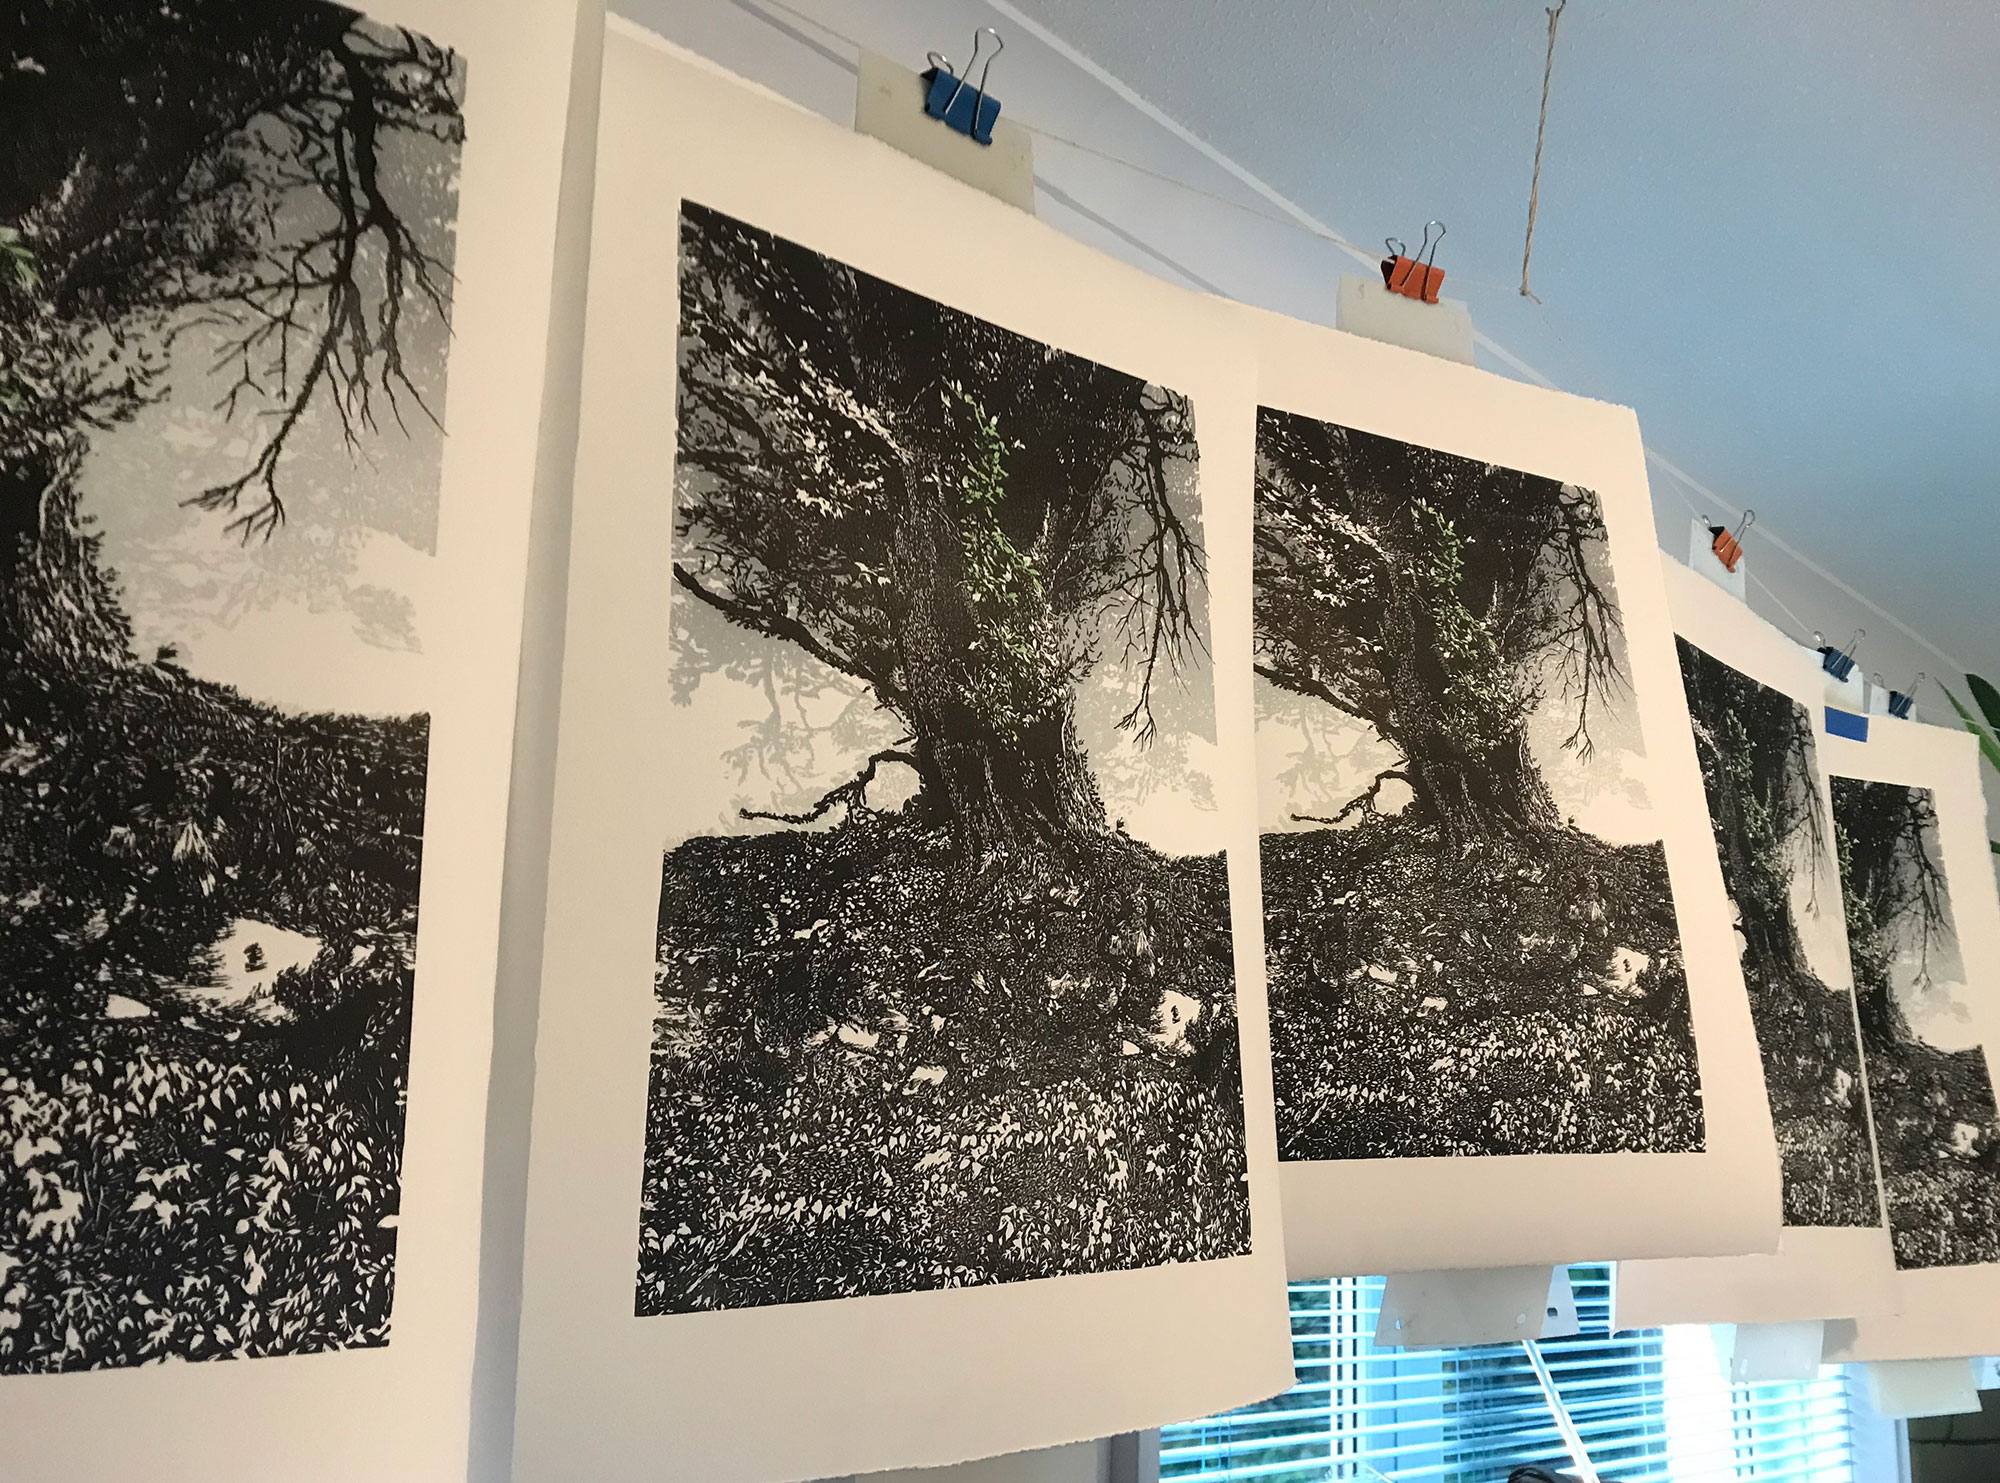
Some of the finished prints hanging up to dry. A pleasingly low wastage rate this time - about 5 wasted prints on the way to printing and edition of 25.
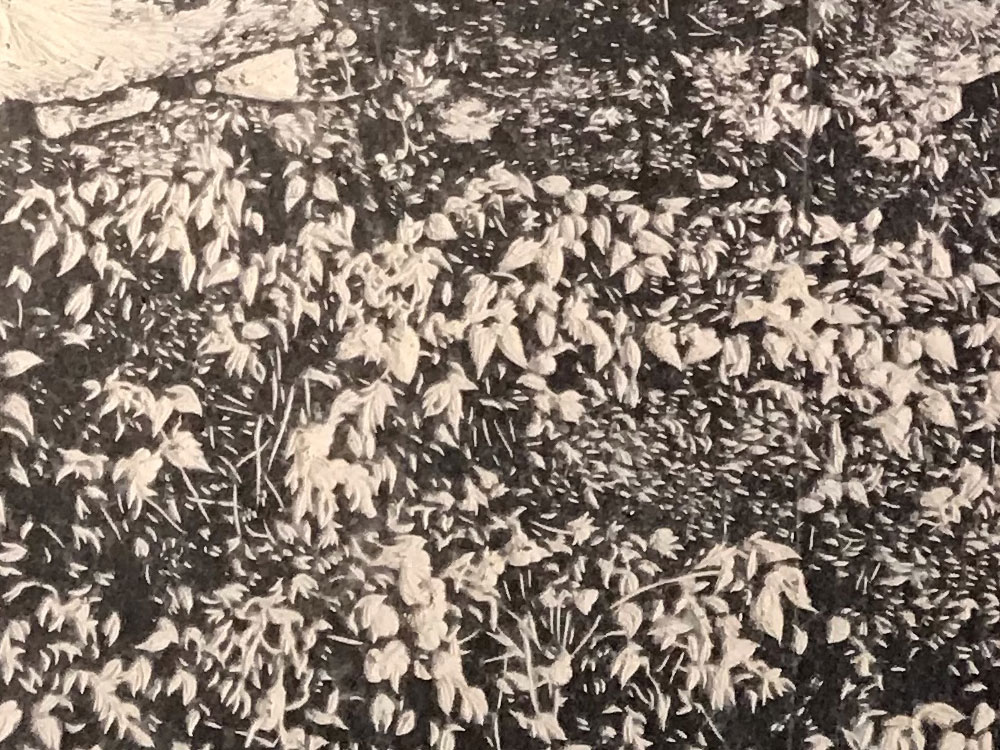
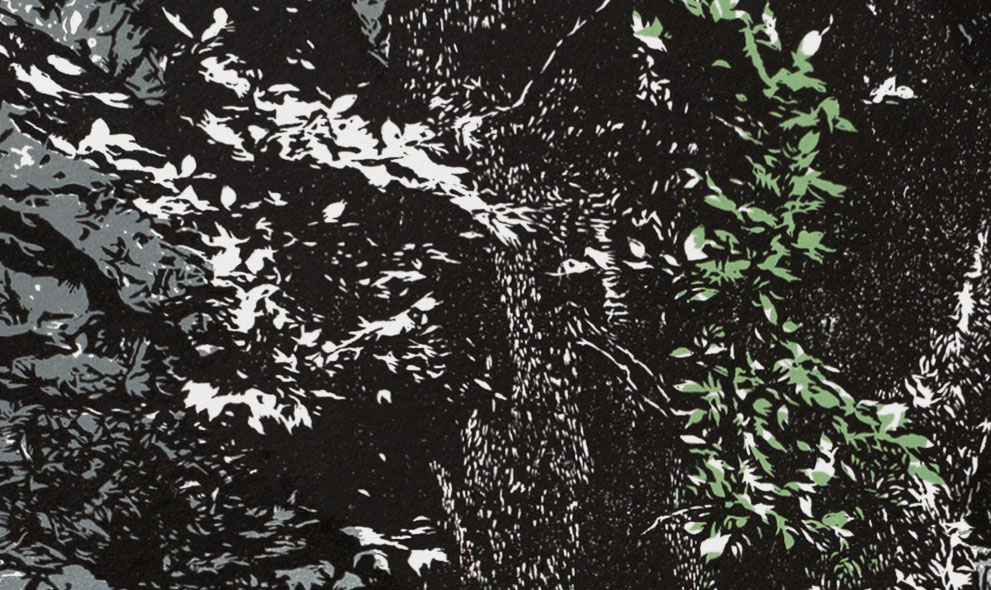
Above: A detail from the final print
And here's the finished print again, to save you a trip back up to the top of the page!
Click here if you would like to see the print closer to actual size (opens in a new browser window)
And here's the finished print again, to save you a trip back up to the top of the page!
Click here if you would like to see the print closer to actual size (opens in a new browser window)
Connect


My newsletter: